Set Map Properties
Overview
Here we will discuss how a User can Set Map Properties as they desire for their Silvics Spatial Map View. Below includes a step-by-step video tutorial, as well as a typed walk-through.
Need More Help?
For personalized assistance, speak with a customer service representative or join our monthly training session.
Workflows
Step-by-Step Instructions
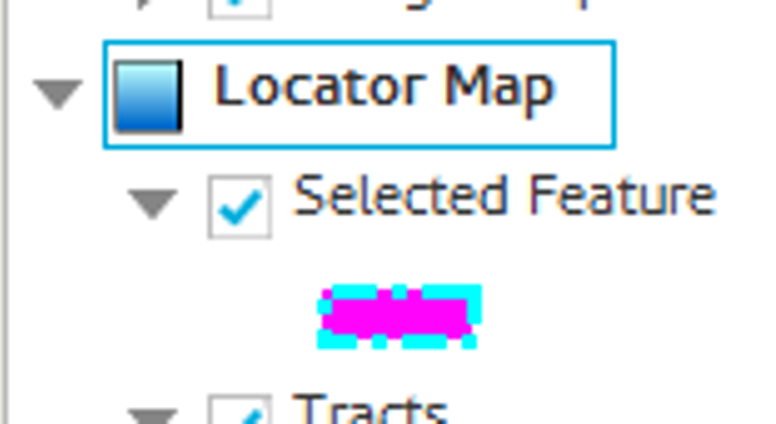
Step 1: In the Map TOC tab of the Spatialai Module, left click to select the map data frame you wish to set general properties for.
The map data frame will highlight in the Map TOC explorer tree.

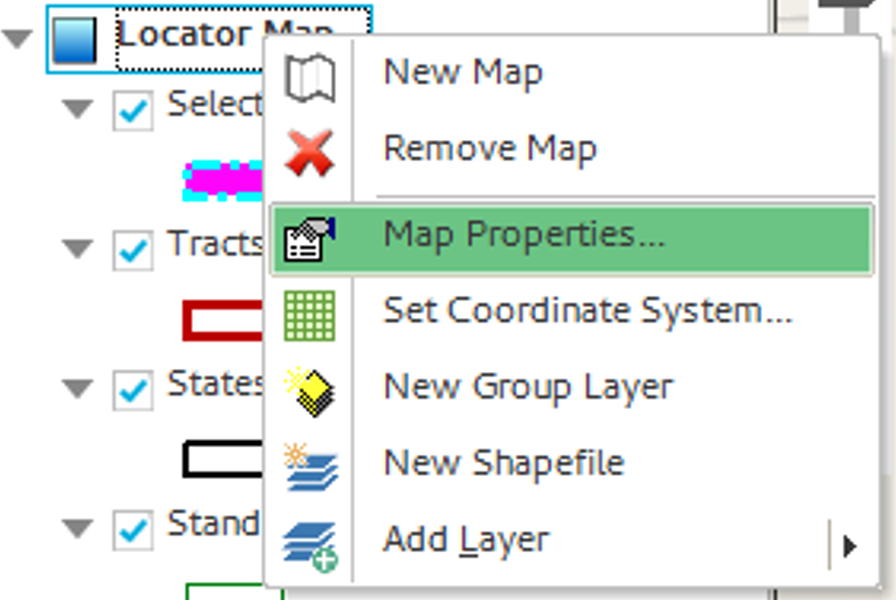
Step 2: Right click the selected map data frame.
A context menu opens when the user right clicks on the map data frame.
Step 3: Select “Map Properties…” from the right click context menu to open the Map Properties dialog window.

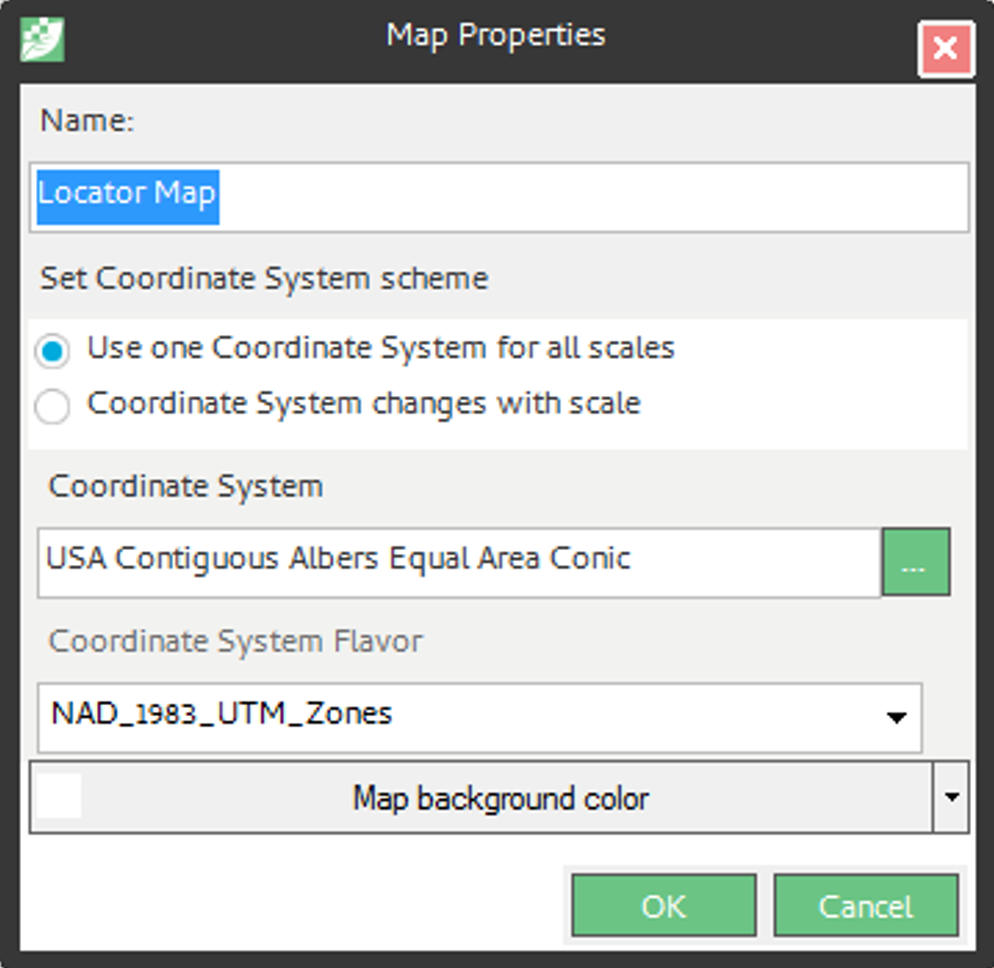
Step 4: Adjust Map Properties dialog window. (Follow below)
- In the “Name” field, type “Locator Map” to name the map data frame in the MapTOC Explorer tree.
- In the Set Coordinate System scheme section, choose “Use one Coordinate System for all scales.”
- User can set the Map View Frame to use only one Coordinate System at all scales or to use different coordinate systems based on scale.
- In the Coordinate System pick list, choose your local projection.
- User can choose from a list of predefined coordinate systems.
- The “Coordinate System Flavor” is read only based on the selection in the step above.
- Click the “Map background color” drop down menu and select a background color for your map.
- User can choose a color to set the background of the map view frame to.
- User can set the background color to transparent if desired.
- Click <OK> to save your changes.
- The Map View Frame updates to reflect changes made in the Map Properties dialog window.

Note: In the Map Properties dialog window, you can set the coordinate system so that it will change based on the map scale if desired. Currently these settings are set to a system default and cannot be modified by the user. The default settings are as follows:
- When the map is zoomed out to show a larger area (for example the entire Southeast or the contiguous United States), the default coordinate system is USA Contiguous Albers Equal Area Conic.
- When zoomed in locally, the default coordinate system is the local projection as determined by the location of the selected feature.
- The threshold for switching between the Wide View Coordinate System and the Local View Coordinate System is set to 1: 4055030 (1” = 64 miles).
This will give you the best look and feel of your data at both scale ranges.

