Mapping Workflow
Overview
In this workflow, we will guide you through creating detailed maps to visualize and manage your forest data effectively. You’ll learn to select data layers, customize features with symbology and labels, and adjust transparency, ensuring your maps highlight key features and enhance decision-making.
Need More Help?
For personalized assistance, speak with a customer service representative or join our monthly training session.
Workflows
Mapping
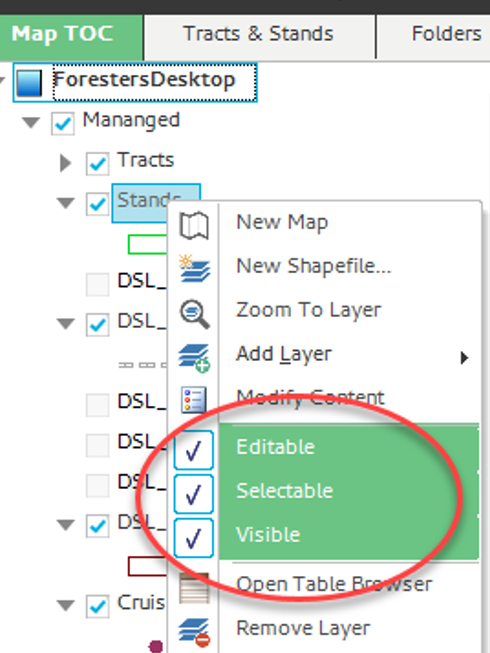
Step 1: In the Map TOC tab of the Forester’s Desktop Explorer Module, right click on the Stands layer (right click on the word “Stands”) to open the context menu and ensure that the Stands layer is Selectable.
Note: If the Stands layer is not Selectable (not highlighted green in the context menu) click the empty checkbox to the left of the word “Selectable” to make it selectable.

Step 2: In the Explorer Panel, Folders Tab, right-click the folder previously created for the Survival Check stands for the context menu to appear. Click the “Select and Zoom To” option and the auto layout button should enable in the Map tab in the ribbon.
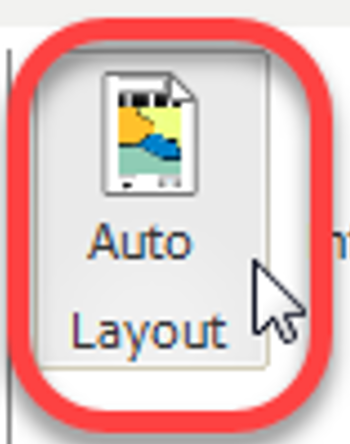
Step 3: In the Map Tab of the Ribbon, select the Auto Layout tool. Auto Layout Wizard opens on tool selection.

Step 4: (Step 1) Set the scale.
- Choose “Best Fit”
- Click the <Next> button
Auto Layout Wizard moves to step 2.
Step 5: (Step 2) Select a template. In the Select template box, click on the ellipsis.

The Browse for Template dialog window opens.
Step 6: Select the desired template. Click <OK> in the Browser for template dialog window. Click <Next> in the Auto Layout Wizard. Auto Layout Wizard moves to step 3.
Step 7: (Step 3) Choose layers for the legend. In the Choose Layers to appear in legend form, select the following layers:
- Tracts
- Stands
- DSL_Areas_Of_Concern
- Any other layer needed to be symbolized on the map layer
Click <Next> in the Auto Layout Wizard. Auto Layout Wizard moves to step 4.
Step 8: (Step 4) Choose whether to highlight features. Check the box to highlight the features in the template map that are highlighted in the Map View. Click <Next> in the Auto Layout Wizard. Auto Layout Wizard moves to step 5.
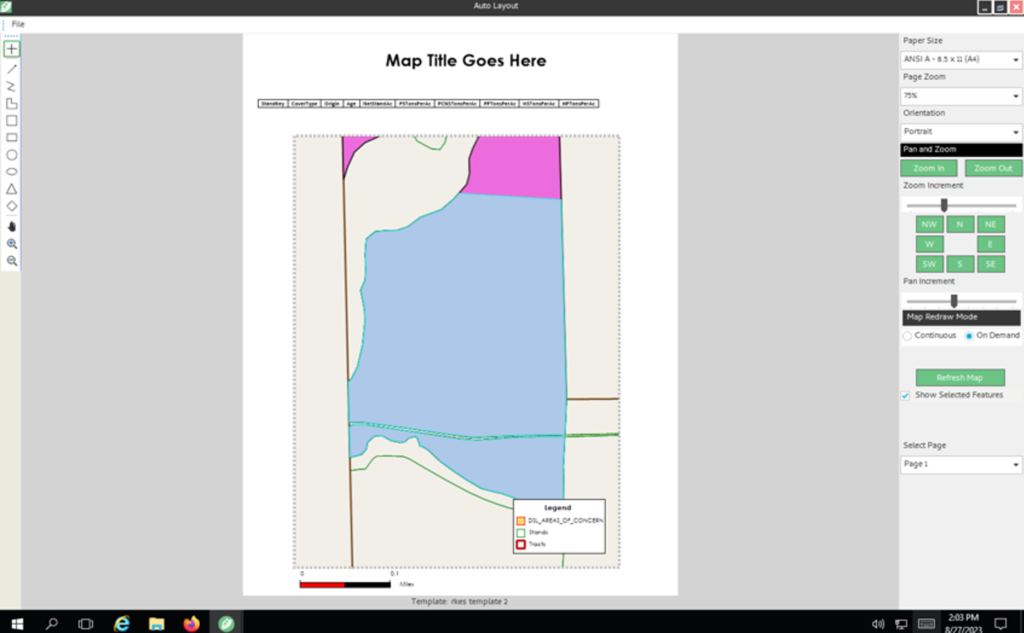
Step 9: Finish. Click <Finish> in the Auto Layout Wizard. Auto Layout Wizard closes and the selected template opens to one of the selected features as shown below.

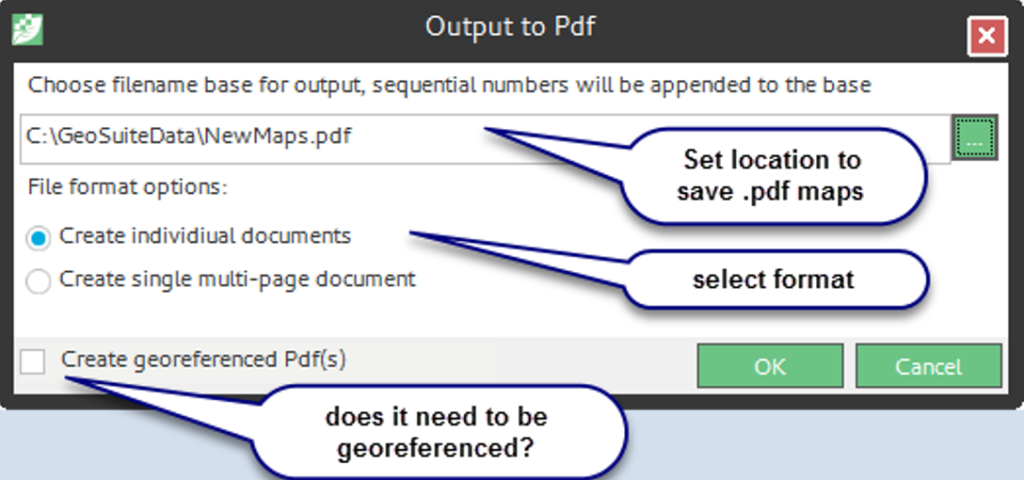
Step 10: In the top left of the Auto Layout window, select the “File” menu to open a context menu. Select “Create PDF.” Output to PDF dialog window opens. Click <OK> and a Pdf version of the document will be saved.


