Spatial Editing Workflow
Overview
In this workflow, we’ll guide you through using the Split by Region tool to divide a polygon in the Survival Check layer, allowing for more precise forest management. Detailed step-by-step instructions will help you select the initial polygon, define new boundaries, and complete the split, creating smaller, distinct regions.
Need More Help?
For personalized assistance, speak with a customer service representative or join our monthly training session.
Workflows
Spatial Editing
Step 1: Zoom to the feature to be edited.
Note: Before moving on, ensure the desired layer’s checkbox is checked in the Explorer Pane.
Step 2: Use the red Select tool (![]() ) to select the feature to be edited. If multiple layers are within the selection, the “Select Feature” window will appear, asking the User to specify the layer they wish to select. Once the desired layer has been specified click <OK>. The selected feature highlights using the selection symbology set by the User (or default if the user has not specified a unique selection symbology).
) to select the feature to be edited. If multiple layers are within the selection, the “Select Feature” window will appear, asking the User to specify the layer they wish to select. Once the desired layer has been specified click <OK>. The selected feature highlights using the selection symbology set by the User (or default if the user has not specified a unique selection symbology).
Step 3: Right-click on the layer within the Explorer Pane and select “Editable” from the right-click menu. If multiple orgs are loaded, the “Choose Target Org” window will appear, prompting the User to specify the Target Org being edited.
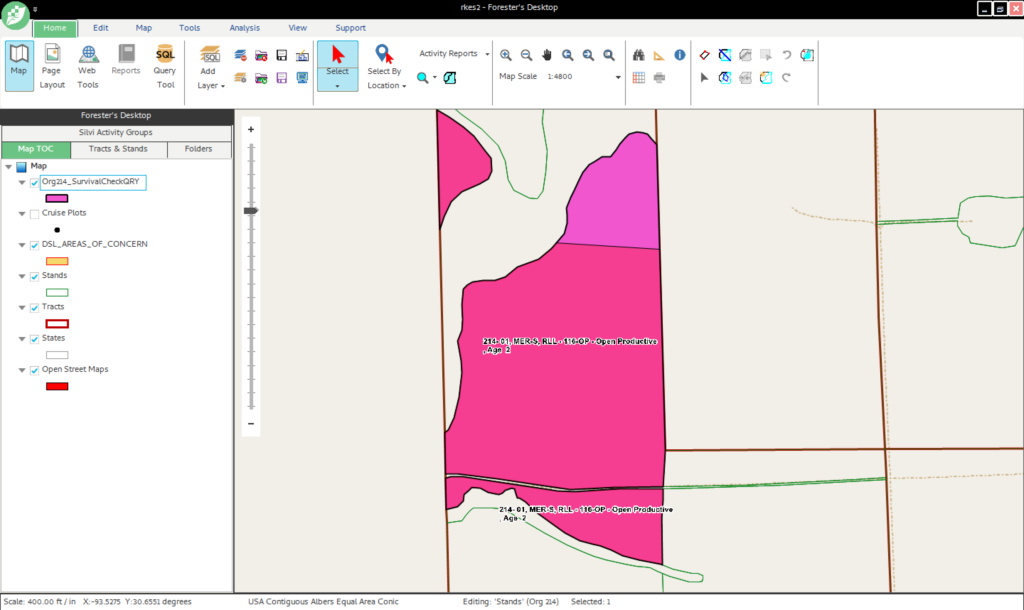
Step 4: Scroll to find the Target Org. Select it and click <OK>. The map will highlight the selected area.
Step 5: Select the Split by Region tool (![]() ) from the spatial editing portion of the toolbar or Ribbon. The spatial editing tools will become active when an appropriate feature(s) is selected in the map view.
) from the spatial editing portion of the toolbar or Ribbon. The spatial editing tools will become active when an appropriate feature(s) is selected in the map view.
Note: If having trouble, ensure the Stands layer is Editable (view step 3).
Step 6: Draw the split polygon.
- Single click to place a vertex
- Double click to complete drawing, this will automatically close your shape
The Assign Split features dialog window opens after the User double-clicks to end the edit.
NOTE: If the drawing did not result in a valid polygon, a pop-up will appear, prompting the User to try again.
Step 7: In the “Assign Split Features” dialog window, assign each split segment result to a new or original feature.
- Select the segment from the “Split Results” box to be assigned. The segment selected will flash on the map (Image 1).
- Assign the segment to the original feature by simply clicking on “Original Feature”. This will display what is being connecting by highlights (Image 2).
- Select the feature from the Original Features box that you wish to assign the segment to and click the
button - OR
- Click the <New> button to assign the segment to a newly created feature
- Select the feature from the Original Features box that you wish to assign the segment to and click the
Step 8: When all segments are assigned to a New or Existing features, click the <OK> button. The “Stand Split Completion Wizard” will open.
NOTE: If working with a shape file, the same steps will not appear. Ensure you are using an editable SQL layer.
Step 9: Complete Step 1 of the “Stand Split Completion Wizard” by checking the checkboxes beside the feature details you wish to maintain in the newly created features:
- Attributes
- Inventory
- Activities
Click <Next>
Step 11: For each new feature being created, choose which parent stand the data should be drawn from. Click <Next>.
Step 12: Review the Summary of assignments from Segment to Features. Click <Finish>. The Split wizard closes and the feature splits as desired and the remainder of the original feature is highlighted in the Map View, as shown below.


